
The Craig Leigh Passenger Station was made with a product called JigStones. JigStones offer a variety of molds for casting sections of brick or stone with concrete, or windows with plastic resin.
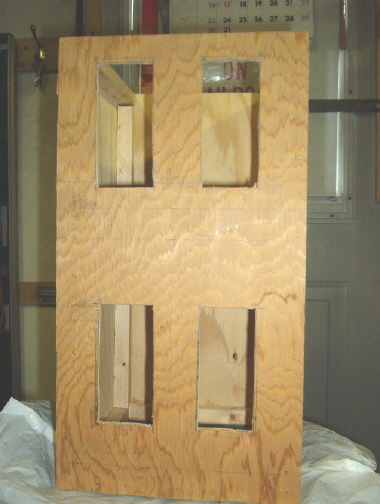
This tower is the first part of a large passenger station. Construction was delayed by the architects as they discussed the design and dimensions of the station. Note the plywood shell is less substantial than in the previous buildings, but is reinforced with a large frame around the interior. The construction crews were very pleased with the new air-powered bradnailer used for this job.
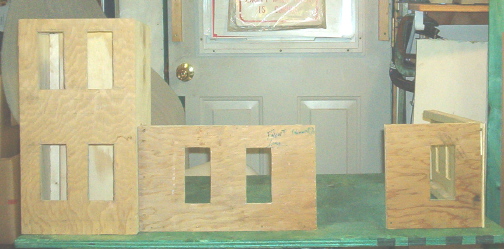
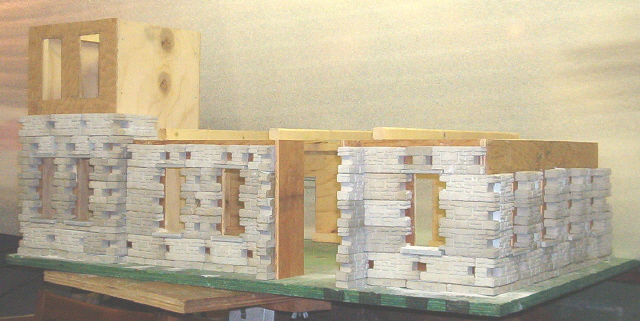
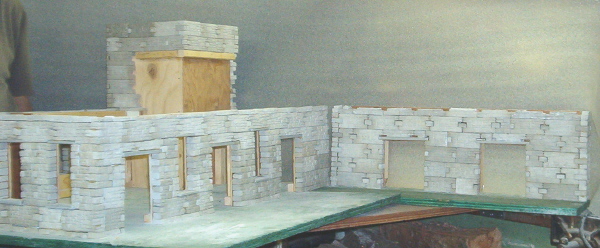
The front and east portions of the shell have been added and everything secured to the base. The large opening in the middle is for the front doors.
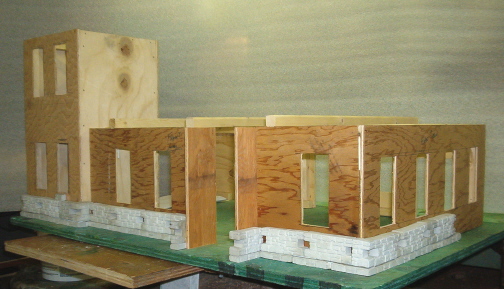
The rear wall has been added and temporary rafters added to hold the walls straight. The main entrance has been modified to provide a little architectural interest. The general outline of the station is beginning to take shape.
The base course of JigStones has been laid, and a layer of stones casting added. Styrene shims have been inserted between some of the stones in order to maintain a level course. Unfortunately, more of the base stones have to be cast before construction can proceed.
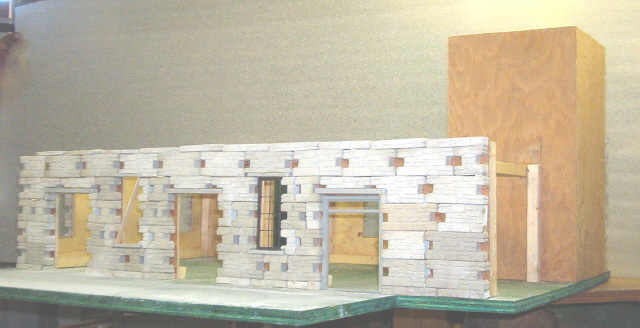
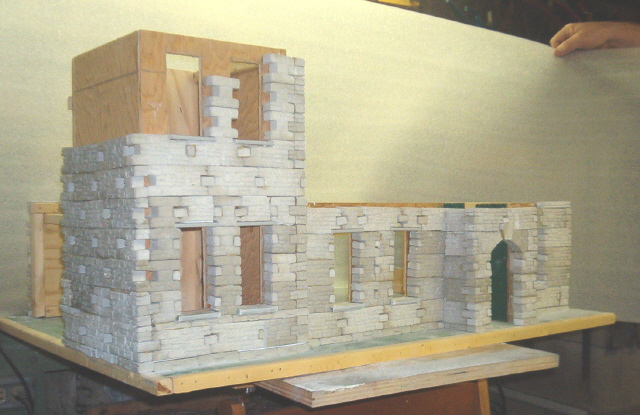
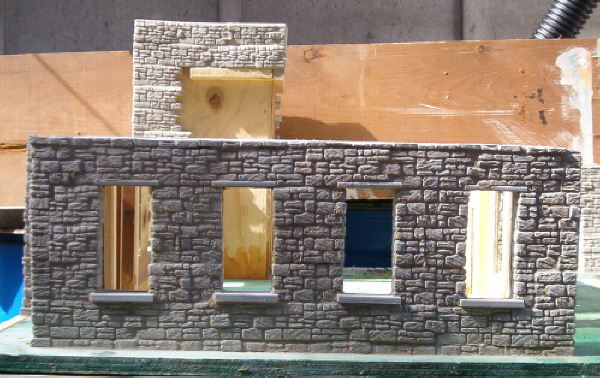
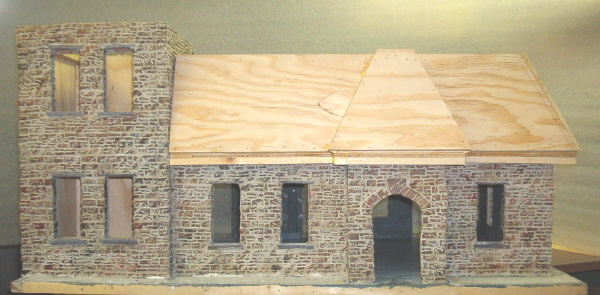
The stonework has now reached the top of the windows at the front of the station. Lintels and sills have been added.
The back wall, entrance to train platforms, has been raised to the roof. Lintels and sills have been added, and a window and door test fit. As you can see, JigStones is more art than science. Once all the keystones have been added, the grout lines filled and the stones dry brushed; the walls will look like one solid piece of fine masonry.
The keystones have been added to the rear wall. This wall is now ready for grouting.
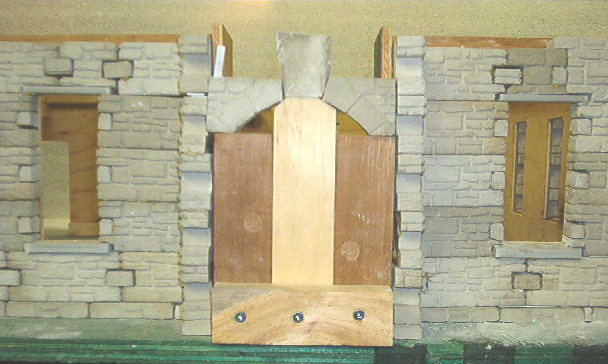
Work on the front doorway continues. A temporary wooden jig has been made to hold the two halves of the stone arch while a large keystone is cut and test fitted. Once the surrounding masonry has been added, the keystone will be cut and filed to size.
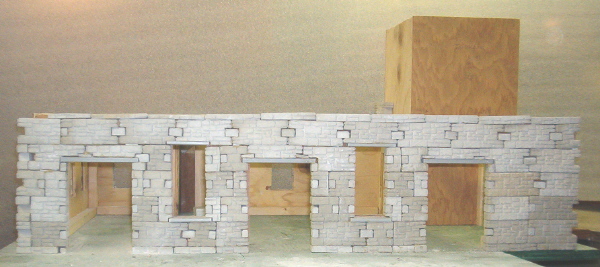
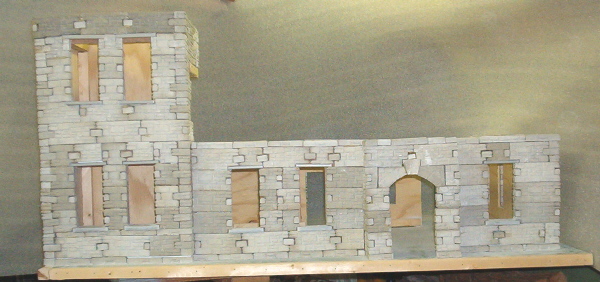
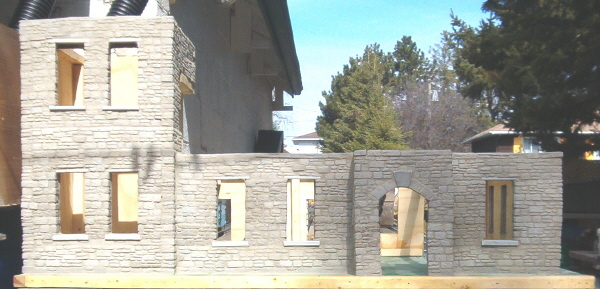
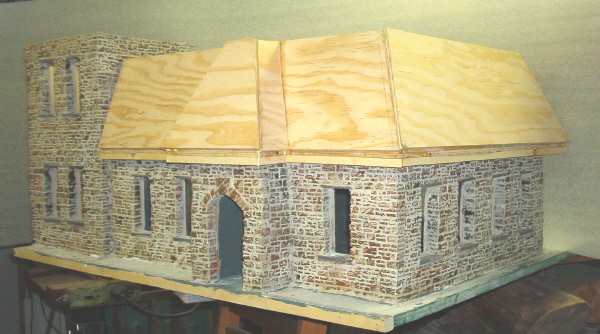
The masonry for the front wall is finished and work has begun on the tower. The arch over the doorway has been redone and the archway finished.
The side wall has also been completed.
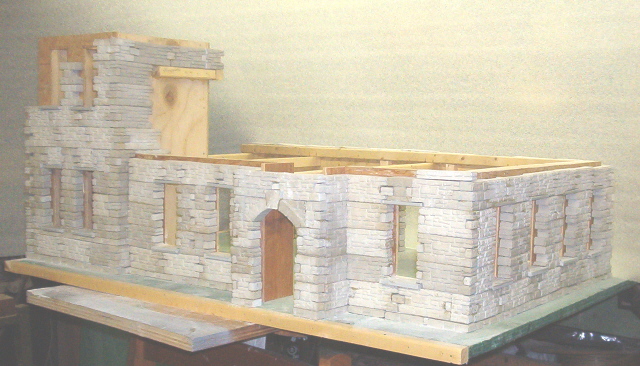
This is a view from the rear showing the progress on the tower.
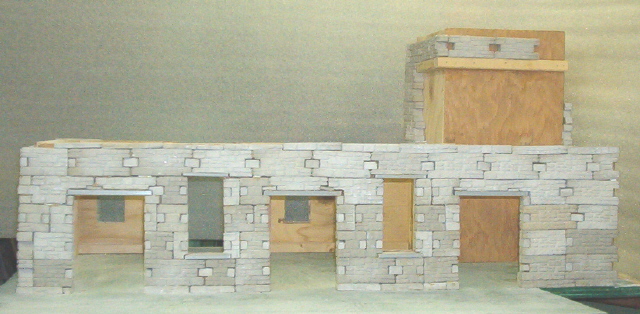
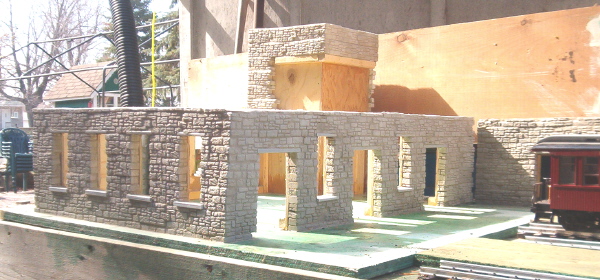
The masonry is complete. This view shows the tower and front entrance.
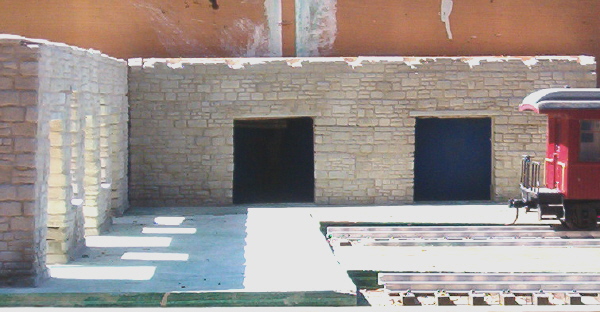
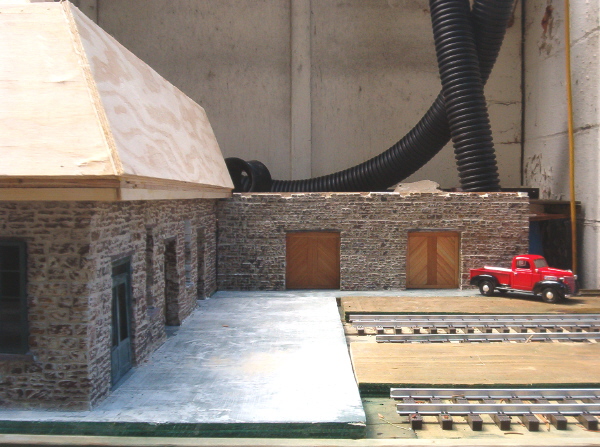
This is the rear view showing the doors to the tracks and the wall of the baggage handling area. This wall was assembled separately from the main station so that we would be able to get through the shop door after completion. It will be fixed in place when the station is placed on the railway.
The next step will be grouting all the walls to fill in all the cracks.
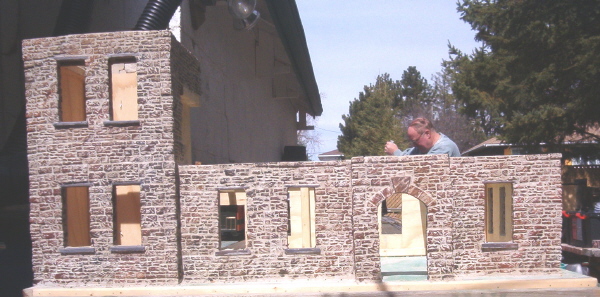
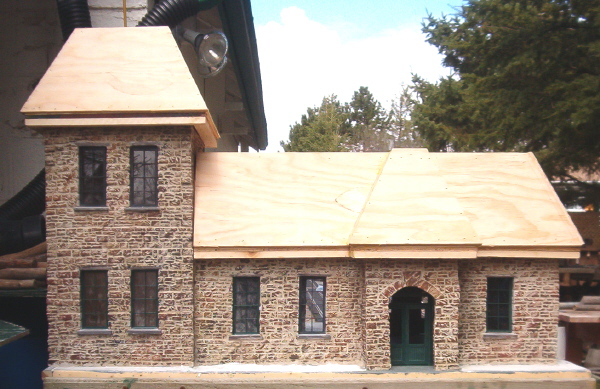
The walls have been grouted and the station taken outside for some pictures before the doors, windows and the roof are added.

The walls have been painted with acrylic paints using a stiff artist’s brush and diagonal strokes to dry brush the stone surfaces. Front view with Doug the artist in the background firing up his live steam Shay.
The track platform and baggage handling area at the back
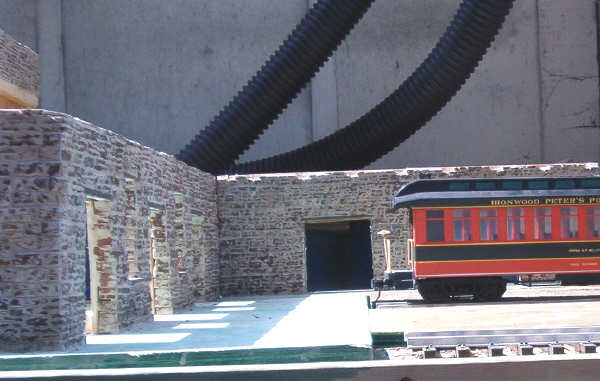
This is another view of the track platform and baggage handling area.
Doug, Lawrence and Fred have been working on the sub-roof.
The plan for this station had included a simulated concrete platform area. Unfortunately the plywood is too rough and grainy to be just painted. We thought about using a thin piece of styrene bonded to the plywood. Inquiries on My Large Scale about bonding large sheets of styrene to wood for outdoor use, however, were not encouraging. It was suggested that perhaps a pour of concrete would actually be best, but there is not enough depth available for a pour. Finally I decided to go with the old labour intensive method of filling the plywood grain with spackling compound, then sanding the surface smooth and finally sealing it with several coats of a good quality exterior paint. This morning the spackling compound was applied.
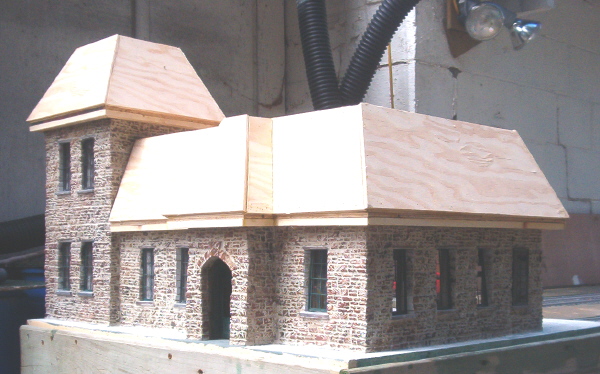
A construction note on the method we have adopted for roofing. It has been used several times now and is particularly effective with JigStones walls that are thick and a bit uneven. A piece of 1/4 inch plywood was cut to the size of the roof plus 1 inch all around for the overhang of the eaves. The overhang on a public building tends to be about 2 scale feet while on residences 18 inches is more common.
Pieces of pine, 3/4 inches wide by 1/2 thick, were then attached flush to the edges of the underside of the plywood. The corners of the pine pieces were mitered to keep the seams minimal. These pieces form the fascia and eaves. Although the eaves are 1/4 inch from the walls, to allow for the unevenness of the stone construction, the gap is not visible when the building is in place. The two layers of plywood and pine are visible in the photos.
Framing up the steeply pitched mansard roof was a short lesson in geometry, but all worked well. The edge of a 1 x 2 inch piece of pine was cut on the table saw to the angle of the roof slope. For this mansard roof, the angle is 68 1/2 degrees. Pieces of the pine were then glued and brad nailed flush around edge of the top side of the plywood. Again the corners were mitered to minimize seams and maintain the proper mitered angle.
The size of the roof walls were determined by placing a ruler on the beveled angle in the pine flush with the bottom edge. A square was the placed on the plywood and moved over to touch the ruler. The point on the ruler where they intersected was the size of the walls. Strips of 1/4 inch plywood were cut to this width.
The plywood strips were held flush to the bottom on the mitered pine, to determine the proper length of the walls and angles of the corners. Care was taken to ensure the angles were cut correctly. The strips of plywood were then glued and brad nailed to the mitered edge of the pine. Butt joints, rather than mitered corners, were used at the edge of the plywood walls. The joints were fastened with glue and brads. The result is the roof as shown in the photos.
More pine, beveled to the same angle, will be glued and brad nailed at the inside of the top of the plywood walls. Then a piece of plywood will be glued and brad nailed to the top of the pine framing to form the flat part of the roof. When finished, the sub roof should be strong and ready for its finishing material. The type of material to be used is still being debated.
This roof will be removable and will have some guides glued to the bottom of the plywood to assure its positioning is absolutely correct on the station. It is also heavy enough that the wind will not bother it. The only unsolved problem that remains is the flashing against the tower to keep out the rain.
The mansard roof on the station and the tower are ready for a styrene finish to simulate steel. The windows have been trial fitted and the platform has been filled with spackling compound to smooth it.
There are still discussions on whether or not dormers will be installed in the roof and where the station clock will be placed.
A matching roof for the baggage wall flat will also have to be built.
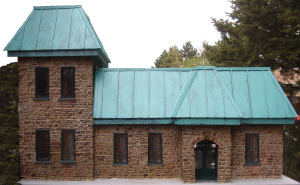
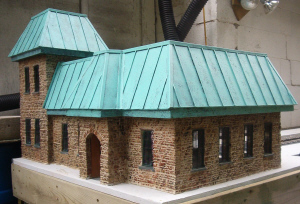
The station is finally finished and looks very impressive with its weathered copper roof.
Front view
Side View
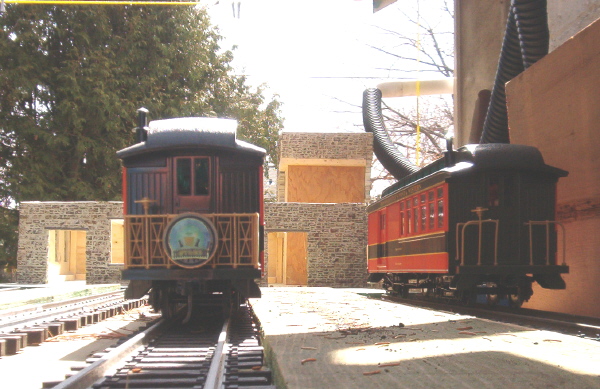
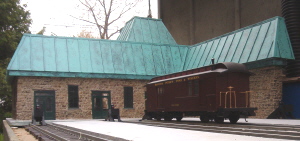
Passenger and baggage handling area
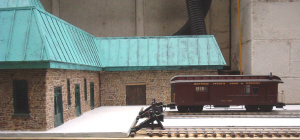
Rear view
3 comments
I am interested in working with Jigstones and would like to get in touch with someone that could answer a few questions that I have about using Jigstones. Is it possible for you to forward my email to someone that would be willing to answer a few questions?
Thank you;
Eric
There is a OVGRS membership list available by clicking on the ABOUT US tab.
Clicking on Doug Matheson should allow you to send him an e-mail.
Very very nice work folks!!